

About Us
Product Categories
Hot Products
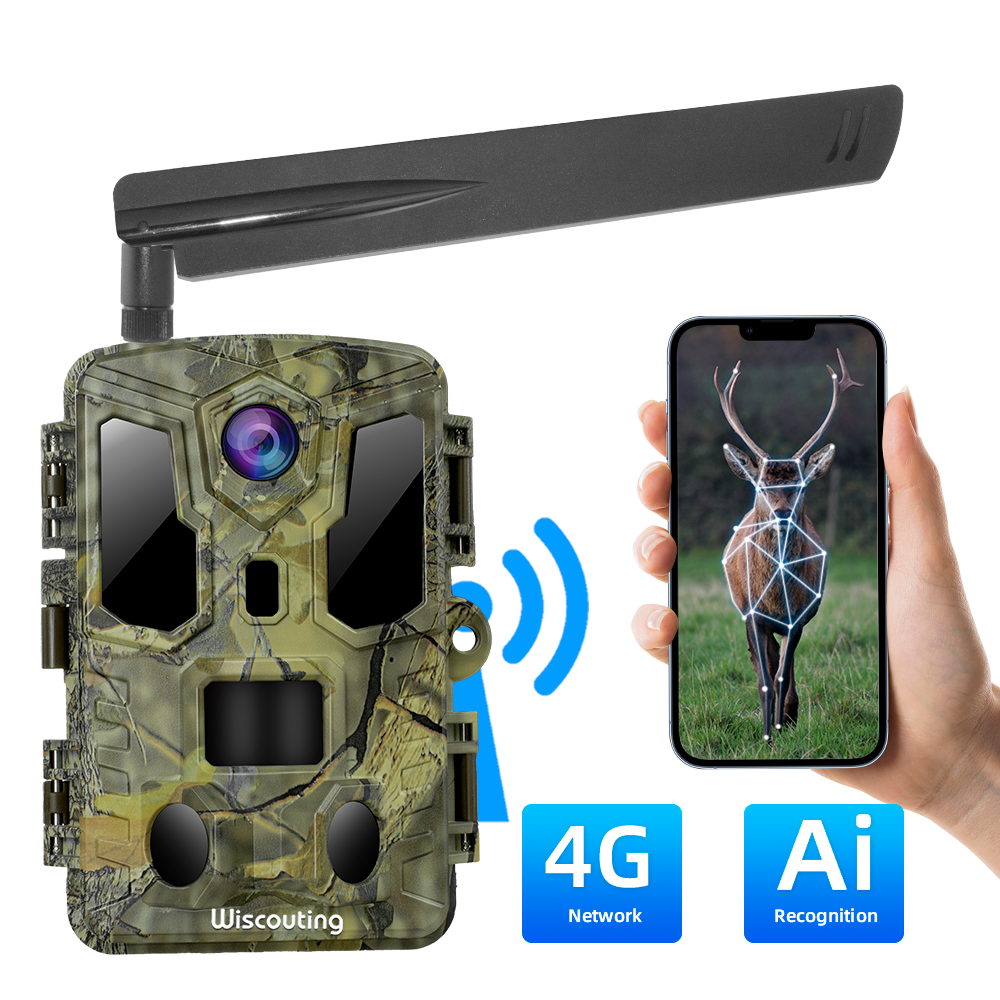


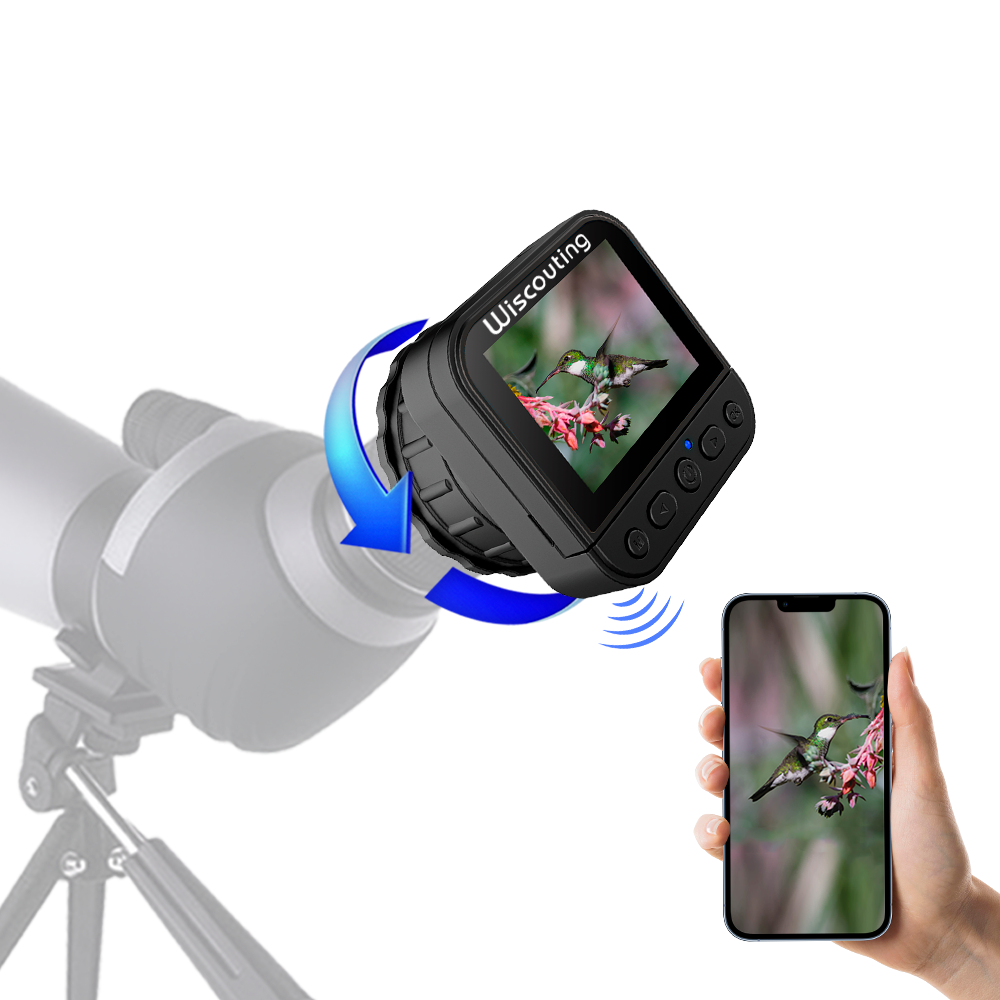
How To Use A Bluetooth And WiFi Enabled Hunting Camera
Release time:
2023-04-20 11:42
source:
Are you tired of always coming back from a hunting trip without any pictures or videos of your game? Well, a hunting camera with Bluetooth and WiFi capabilities can help solve that problem. Here's how to use it:
Step 1: Download the App
Start by choosing an app that's compatible with your hunting camera's model. Once you've downloaded the app on your smartphone, turn on Bluetooth and WiFi to connect the devices.
Step 2: Set Up Your Hunting Camera
Before heading off on your next hunting trip, make sure you've set up your camera properly. Mount it on a tree or other stable surface in the area you want to observe. Open the camera's Bluetooth and WiFi settings and select your smartphone's name for pairing.
Step 3: Adjust Your Camera Settings
Use the app to adjust the camera's settings such as photo or video quality, trigger speed, and interval between shots. You can also set the camera to take photos or videos only in specific hours of the day or night, or when motion is detected.
Step 4: Check Your Camera Remotely
Through the app, you can remotely view and control your hunting camera, giving you the ability to see your game from anywhere. You can also set up notifications on your smartphone to alert you when a photo is taken.
Step 5: Retrieve Your Photos and Videos
After your hunting trip, access your camera's SD card and transfer your photos and videos to your smartphone or other device through WiFi. This makes it easy to share your hunting experiences with others.
By following these simple steps, you'll be able to get clear photos and videos of your game without even being present. Happy hunting!
Next
Related news
China Sales Service
Phone:+86-18589089676
E-mail: info@sensvisionsz.com
United States Sales Service
Tel: +1-360-999-8726
Email: ky@sensvision.us
