

About Us
Product Categories
Hot Products


How to setup your trail camera
Release time:
2023-03-23 16:38
source:

You should check that your camera is set up correctly because trail cameras are sometimes abandoned for days, weeks, and even months at a time. Not only should you pick a spot where you anticipate your target subjects to pass by, but you should also place the camera such that it has a direct line of sight over a big region. If you conceal a trail camera in a thicket, you won't obtain any photographs unless something passes directly in front of the lens.
Before you go, we advise checking your trail camera. "Have it take a few photos as you're walking by, and then go through them. Sometimes the angle you have is wrong; it can be too high or too low. To get the game in the middle of the camera's field of vision, try to adjust the height and angle.
Testing can also disclose any technological problems you may have. It's possible that your memory card has to be formatted in order to store images and videos, or you could notice an inaccurate date or time stamp and remember that you neglected to set those restrictions after you see it.
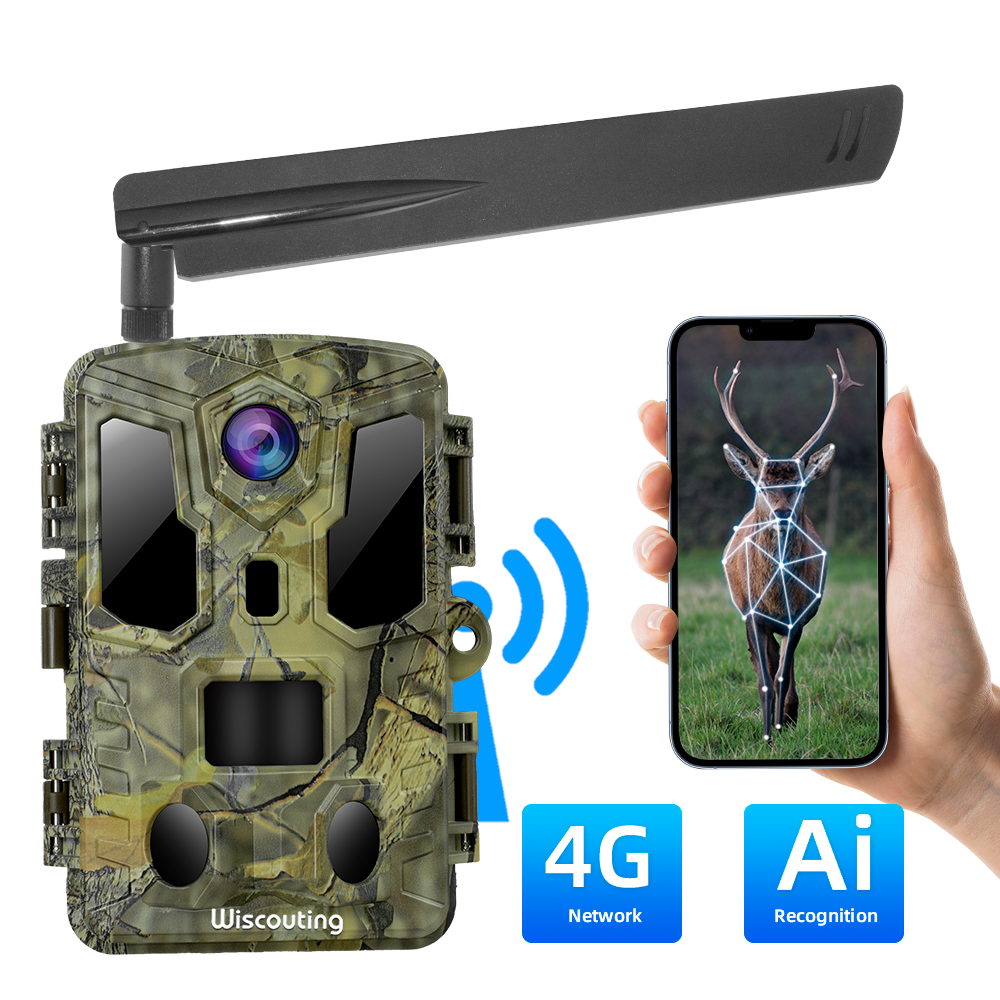
Signal strength should be checked before installing a cellular trail camera. Try activating the camera to check whether you receive the notification and image if your camera has an app or website that enables you see photographs on your smartphone, as many do these days.
Although the majority of trail cameras are quite waterproof, it is still advisable to locate them somewhere that is somewhat protected. Rain and snow might momentarily cover your trail camera's lens, ruining some excellent photos, and bright sunlight shining on your triggers can result in blank photos or confuse the sensors. A lot of plants or branches in the foreground should be avoided since the movement they cause when the wind blows can also result in empty photographs.
Related news
China Sales Service
Phone:+86-18589089676
E-mail: info@sensvisionsz.com
United States Sales Service
Tel: +1-360-999-8726
Email: ky@sensvision.us