About Us
Product Categories
Telescope wifi eyepiece camera era is coming
Release time:
2023-10-14 15:37
source:
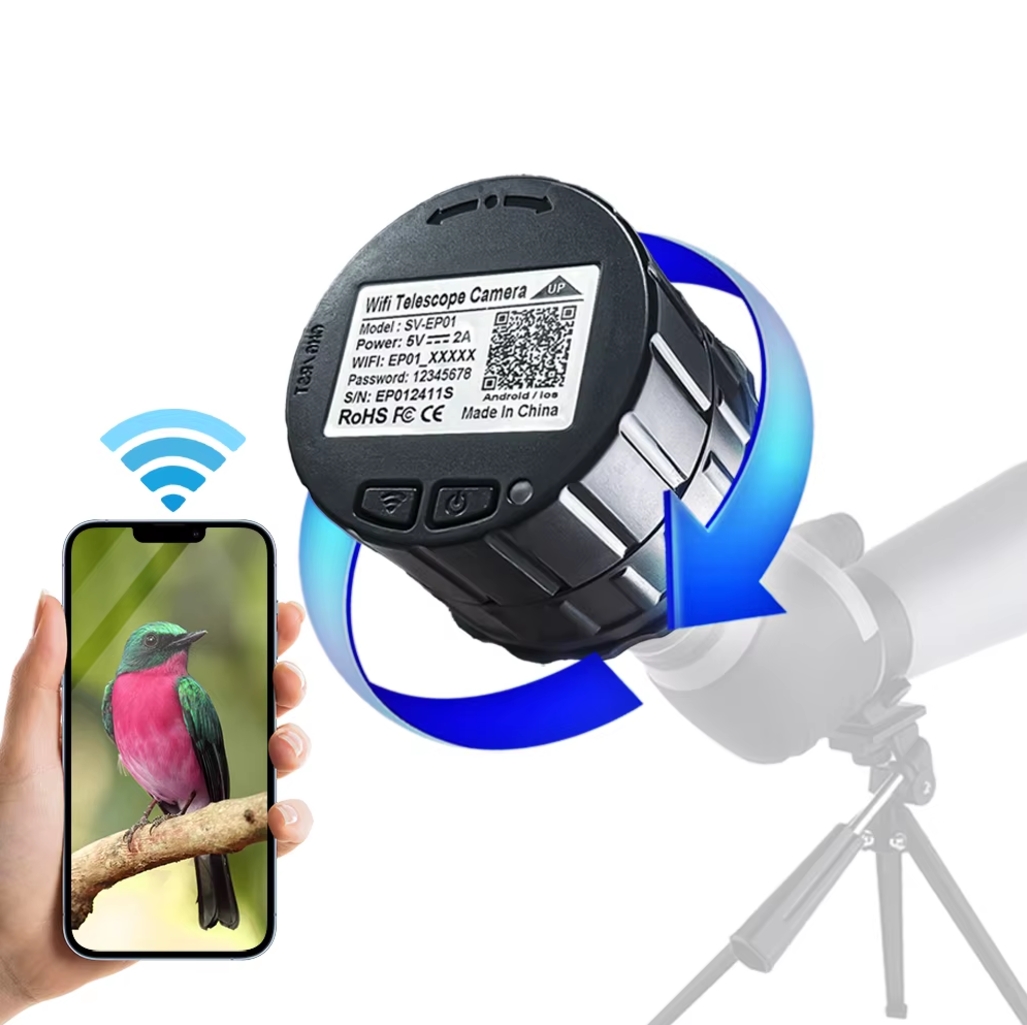
A WiFi telescope eyepiece camera can be a great addition to anyone's astronomy setup. It allows you to view and capture images of the celestial objects you are observing directly on your smartphone or tablet. Here are some steps to use a WiFi telescope eyepiece camera:
1. Install the software: Most WiFi telescope eyepiece cameras come with their own software that needs to be installed on your device. These apps are usually available for both iOS and Android.
2. Connect to your telescope: The next step is to connect the camera to your telescope. Depending on the model you have, this might involve attaching the camera directly to the eyepiece or using an adapter to mount it.
3. Connect to WiFi: Turn on the camera’s WiFi function and connect your phone or tablet to its network. Once connected, open the app and you should be able to see whatever the telescope is pointed at.
4. Adjust settings: Depending on the app you are using, you may have a range of settings to adjust, such as focus, exposure, and white balance. Play around with these settings until you get the best possible image.
5. Capture images: Once you have adjusted the settings, you can start taking photos or videos of what you see through the telescope. The images will be stored directly on your device.
Overall, using a WiFi telescope eyepiece camera is a fun and easy way to capture stunning images of the night sky. With a little practice, you'll be able to take amazing photos of the Moon, planets, and galaxies.
Related news


